Viewing entries in
Learning

Architectural Rendering with Rhino and V-Ray with Dave Schultze

Architectural Rendering with Rhino and V-Ray with Dave Schultze

Watch the Online Video Course Architectural Rendering with Rhino and V-Ray

A detailed rendering job can make your building models look more realistic and professional—and help sell clients on your ideas. This course teaches everything you need to know about rendering interior and exterior architectural scenes with Rhino and V-Ray. Using a pavilion of his own design, author Dave Schultze shows how to set up Sun, Sky, and V-Ray lighting systems; apply glass, metal, stone, and wood materials; and insert trees, grass, and people for additional scale and interest. Plus, learn how to use cameras and compositing techniques to add a sense of depth and realism to your designs.

Topics include:

  • Setting up your system
  • Understanding the settings, software, and process
  • Lighting the scene
  • Tweaking exposure
  • Rendering with architectural glass, masonry, and concrete
  • Making realistic grass and trees
  • Creating depth of field
  • Compositing from 3D to 2D

Did you enjoy this article? I would love to hear your thoughts, so don’t be shy and comment below! Please don’t forget to subscribe to my RSS-feed  or follow my feed on Twitter, Google+ and Facebook! If you enjoyed the following article we humbly ask you to comment, and help us spread the word! Or, if you would like, drop me an email.

Getting the Color Average

One of the most difficult parts of any architectural rendering is getting the colors correct. Typically, I receive a swatch, photo, or a web link.  Now, people tend to see things as they remember them being. Our brains have a way to filter things out. For example, white snow is actually bluish, due to the sky, but our brains filter out the blue and shows us white because snow is white after all.

When I receive a color sample I crop out everything that isn't part of the material and I take an average sample. If I want snow to look real, I can't just apply a white material, because the snow isn't white; I have to create a bluish material. 

In Photoshop go to Filter, Blur and select Average

Blur Average

Blur Average

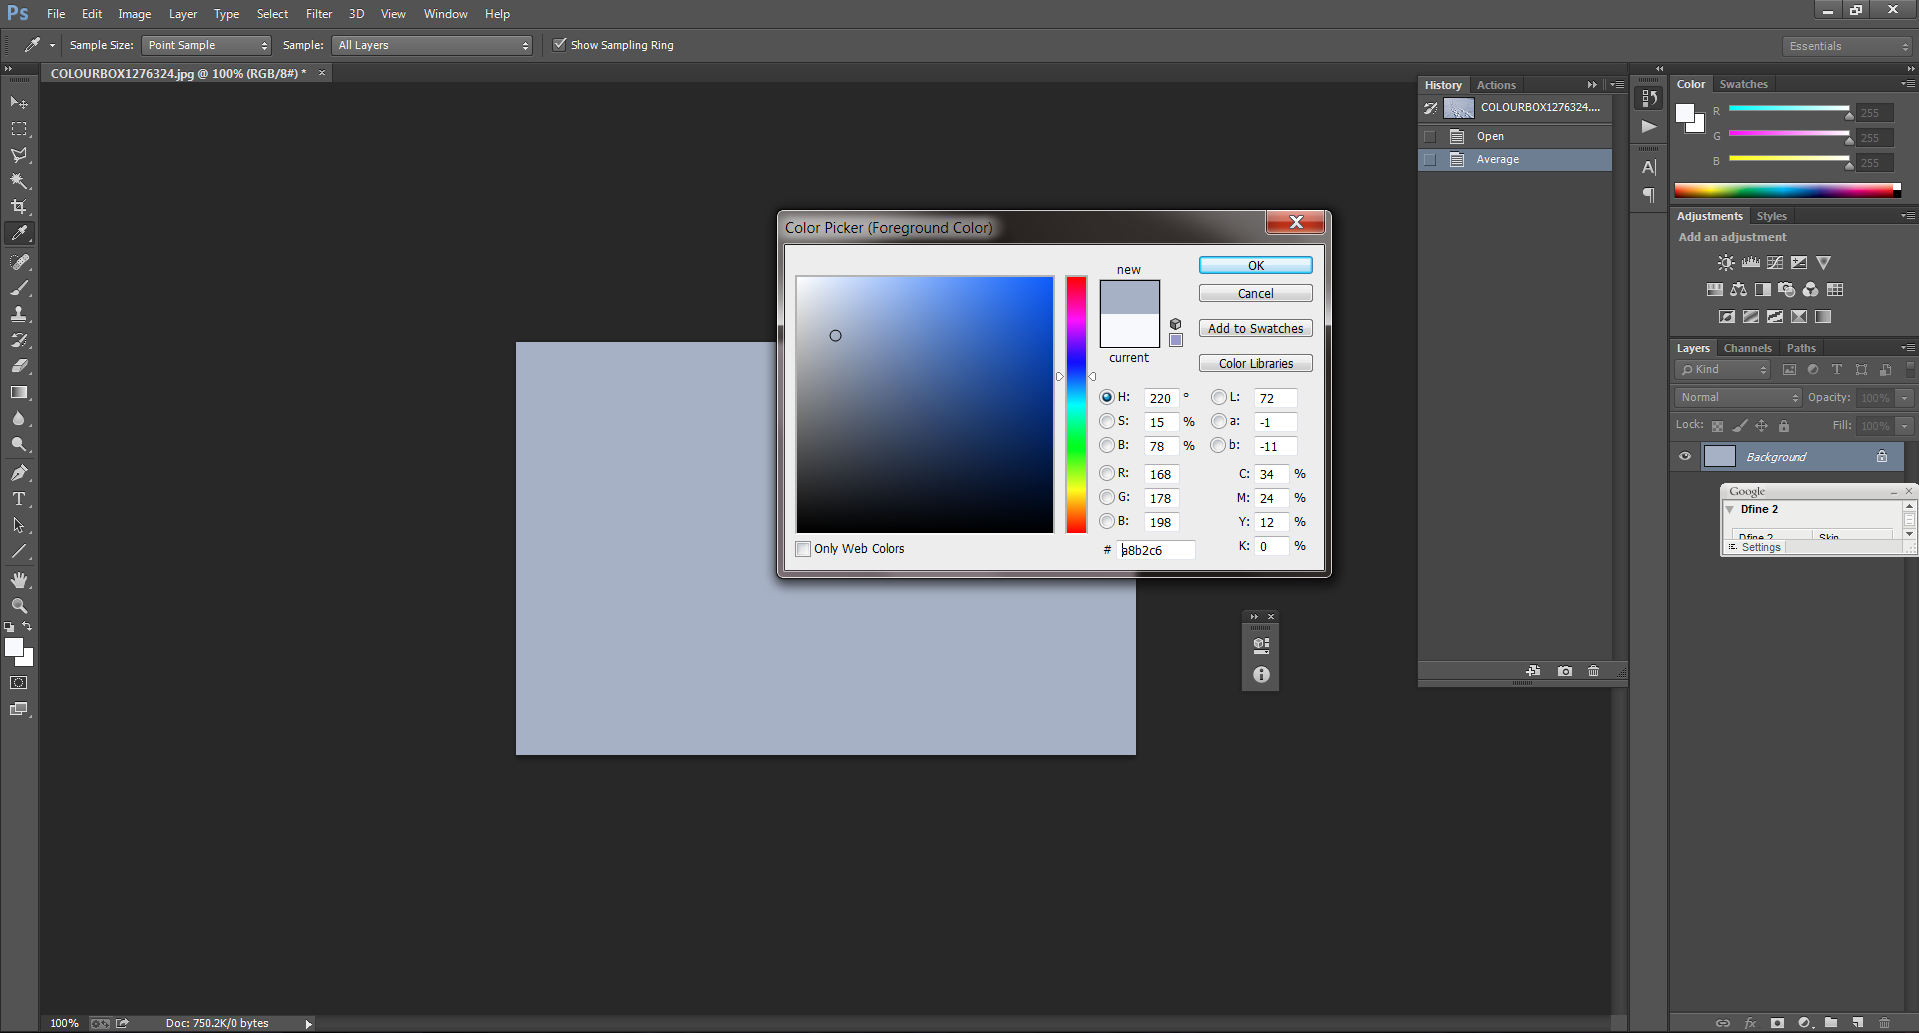
Now, I can use Photoshop's Color Picker to get the average color and build my material from there.

Photoshop Color Picker

Photoshop Color Picker

I hope this helps you when you are creating your materials from a sample. If anything, you can show your client the actual color and not the color they think the sample is. I have had clients insist that a color is one thing, when in fact it is something totally different. 

photorealistic architectural rendering is only successful when you successfully recreate a reality. If you would like your snow scene to look real you'll have to make it blue.


Did you enjoy this article? I would love to hear your thoughts, so don’t be shy and comment below! Please don’t forget to subscribe to my RSS-feed  or follow my feed on Twitter, Google+ and Facebook! If you enjoyed the following article we humbly ask you to comment, and help us spread the word! Or, if you would like, drop me an email.

3D Studio MAX 2015 Base Scene with Exposed Lighting for Architectural Visualization

3dsmax default architectural scene

Yesterday, I received a Tweet requesting "an empty stage with exposed lighting for architectural visualization."

Below is a download link, to a 3DS MAX 2015 using V-Ray 2.4 scene, with my basic setup, which is optimized for an exterior architectural rendering and visualization.

Most importantly, if you have any questions about this basic architectural rendering setup scene, feel free to post a comment.


Did you enjoy this article? I would love to hear your thoughts, so don’t be shy and comment below! Please don’t forget to subscribe to my RSS-feed  or follow my feed on Twitter, Google+ and Facebook! If you enjoyed the following article we humbly ask you to comment, and help us spread the word! Or, if you would like, drop me an email.

All about Gamma & V-Ray

learn-vray

Lesson by Ciro Sannino | More about: Vray News

Contents:

  • VIDEO IN HD / Narrated / 28 ‘
  • MAX FILES to download with all V-Ray settings
  • Gamma output with 3ds Max 2014
  • Gamma uotput 1.0 and 2.2
  • Migrating from one configuration to another
  • Advantages and disadvantages
  • Successfully save images to 32bit
  • Duplicate the frame buffer with success
  • Batch render and render elements

Gamma and configurations

Compensating renders with gamma curve has always been a very hot topic. The reasons for this offsetting is required are already discussed in my book “Photography & Rendering with V-Ray“, so now I will focus on technical and practical details that will allow us to finally dominate all aspects related to the topic “Gamma”.

After it has started, click the “X” to view it in full screen:

GAMMA CONFIGURATION 1.0 :

  • Script: fileoutgamma = 1.0
  • Color mapping> Gamma: 2.2
  • Color Mapping> Mode: Color Range Mapping and Gamma
  • sRGB button to display preview / disabled

GAMMA CONFIGURATION 2.2 :

  • Script: fileoutgamma = 2.2
  • Color mapping> Gamma: 2.2
  • Color Mapping> Mode: Color Mapping only (no gamma)
  • sRGB button to display preview / enabled
  • This configuration is the default in V-Ray 2.4 and V-Ray 3

Both configurations produce the same result, with the difference that the configuration GAMMA2.2 facilitates saving images to 32bit and management of 3ds Max Frame Buffer and batch render.

 FILES & TRAINING:

Download the package containing the scene set in 2 configurations:

Note: A “mismatch” window appears when we open a file with output gamma set differently from your system.


Did you enjoy this article? I would love to hear your thoughts, so don’t be shy and comment below! Please don’t forget to subscribe to my RSS-feed  or follow my feed on Twitter, Google+ and Facebook! If you enjoyed the following article we humbly ask you to comment, and help us spread the word! Or, if you would like, drop me an email.

3ds Max 2015 - work faster with new tools

3ds Max 2015

Looking to take a deep dive into what Autodesk® 3ds Max® 2015 software has to offer? Then this session is for you.

Technical Specialist Chris Murray will show you how to get things done faster, with new layout tools, efficient scene management workflows and rendering tools, and other powerful additions in 3ds Max 2015.

Want to find out more about 3ds Max 2015 and how to get access to the latest features with Autodesk® Subscription? Check out the 3ds Max product center for more information.


Did you enjoy this article? I would love to hear your thoughts, so don’t be shy and comment below! Please don’t forget to subscribe to my RSS-feed  or follow my feed on Twitter, Google+ and Facebook! If you enjoyed the following article we humbly ask you to comment, and help us spread the word! Or, if you would like, drop me an email.
Learn the Basic Elements of Good Design in Under a Minute

Good design isn't the kind of thing that's taught as a core class in most educational systems. However, knowing just a bit about how design works can help you in many jobs. This video gives even a beginner the kickstart they need.

The video above isn't a tutorial so much as a video periodic table of design elements. Each element–like symmetry, negative space, and composition–are demonstrated by themselves in an isolated way. If you don't have any background in design at all, this video may be a good place to start your googling from, if you don't happen to recognize a term or want to know more about it. You can also check out our weekend class on design here.


Did you enjoy this article? I would love to hear your thoughts, so don’t be shy and comment below! Please don’t forget to subscribe to my RSS-feed  or follow my feed on Twitter, Google+ and Facebook! If you enjoyed the following article we humbly ask you to comment, and help us spread the word! Or, if you would like, drop me an email.

What is Autodesk 360?

  • Autodesk 360 is a project-based collaboration tool that brings the people, data and all of the activities within a project together.
  • View 2D and 3D files in over 60 file formats, right in your browser. Perform deep search, locating parts and model components embedded in complex designs.
  • Experience a dramatic improvement in the way you design, visualize, simulate, and share your work-on demand.

Did you enjoy this article? I would love to hear your thoughts, so don’t be shy and comment below! Please don’t forget to subscribe to my RSS-feed  or follow my feed on Twitter, Google+ and Facebook! If you enjoyed the following article we humbly ask you to comment, and help us spread the word! Or, if you would like, drop me an email.

Rendering Exteriors in 3ds Max with Adam Crespi

In this course, author Adam Crespi takes you through the full production pipeline for lighting, rendering, and compositing the exterior of a house in 3ds Max. First he'll show you how to create mental ray materials like wood, metal, and glass; customize the Daylight system for realistic daytime lighting; and adjust the lighting for dusk and nighttime shots with photometric lights. Then he'll render the scenes, optimizing and styling the bounced light with Global Illumination and Final Gather. Finally, Adam takes the image into post, adding the final polish required at the end of the pipeline with Nuke and After Effects.

Topics include:

  • Creating exterior materials
  • Adding luster to glass and subtle detail to wood and siding
  • Positioning the sun with the Daylight system
  • Lighting using HDR imagery
  • Lighting interior spaces
  • Fine-tuning the photographic exposure
  • Rendering and optimizing rendering
  • Creating an ambient-occlusion rendering pass with custom materials
  • Setting up additional rendering passes for compositing purposes
  • Compositing and adding post effects in Nuke and After Effects

Did you enjoy this article? I would love to hear your thoughts, so don’t be shy and comment below! Please don’t forget to subscribe to my RSS-feed  or follow my feed on Twitter, Google+ and Facebook! If you enjoyed the following article we humbly ask you to comment, and help us spread the word! Or, if you would like, drop me an email.

Architectural Rendering Tutorial - Post Production in Photoshop - Inserting People

After many requests, a short tutorial on how to insert people into an architectural visualization scene.Links where to find cutout peopleGobotree.comSkalgubbar.seXoio-air.deImmediateentourage.com/Hope you've enjoyed and feel free to leave any commen…

After many requests, a short tutorial on how to insert people into an architectural visualization scene.

Links where to find cutout people
Gobotree.com
Skalgubbar.se
Xoio-air.de
Immediateentourage.com/

Hope you've enjoyed and feel free to leave any comments and suggestions for the next ones!


Did you enjoy this article? I would love to hear your thoughts, so don’t be shy and comment below! Please don’t forget to subscribe to my RSS-feed  or follow my feed on Twitter, Google+ and Facebook! If you enjoyed the following article we humbly ask you to comment, and help us spread the word! Or, if you would like, drop me an email.

3DS Max Tutorial by Bertrand Ciesielski.

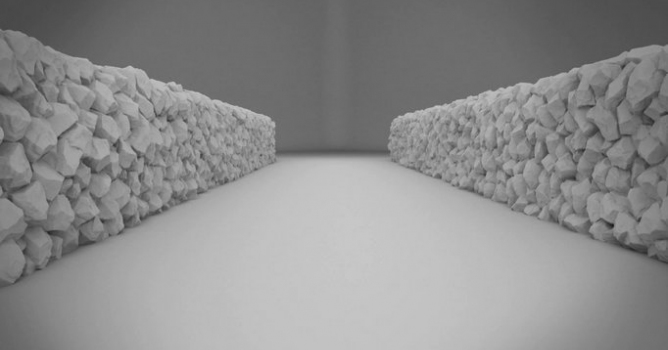
Create a wall of rocks using 3dsmax 2014, Multiscatter, Rock Generator Script, and V-Ray for rendering.


Did you enjoy this article? I would love to hear your thoughts, so don’t be shy and comment below! Please don’t forget to subscribe to my RSS-feed  or follow my feed on Twitter, Google+ and Facebook! If you enjoyed the following article we humbly ask you to comment, and help us spread the word! Or, if you would like, drop me an email.